
Page 14
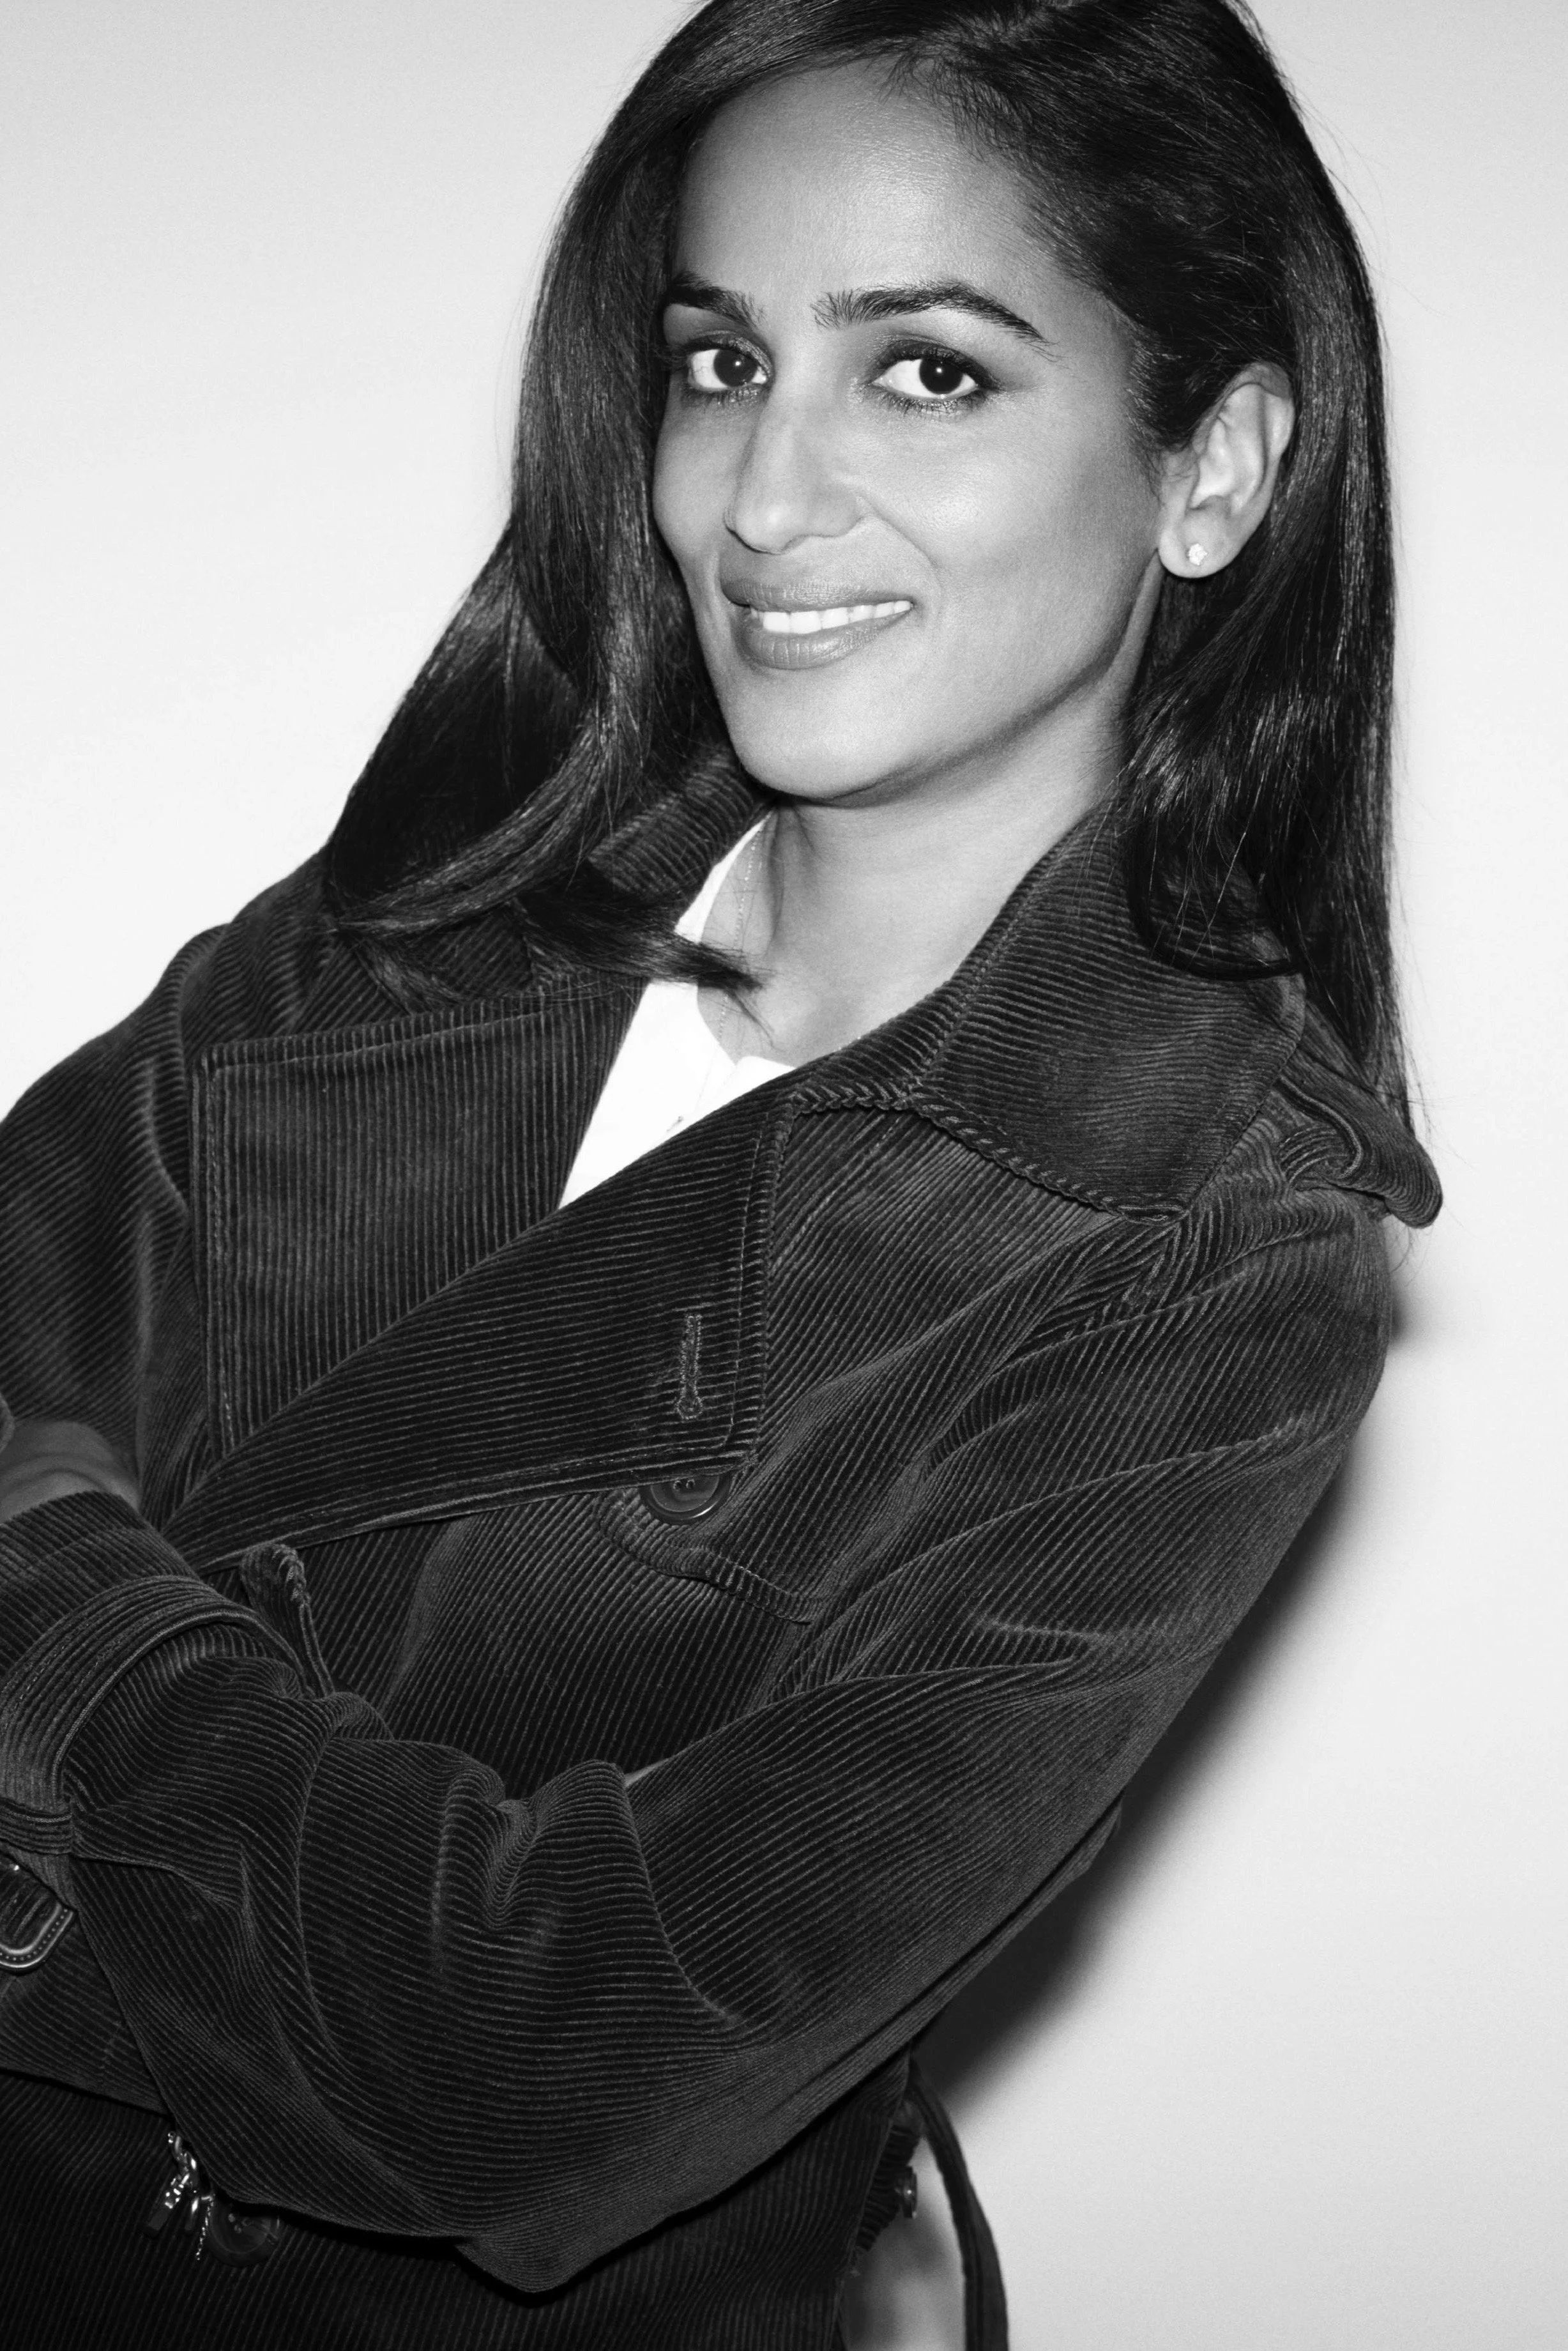
Brow Care with Vanita Parti
Words Vanita Parti
When I started Blink in 2004, there was no doubt that brows in Britain were the least celebrated facial feature. I never fathomed why. My mother took me to get my monobrow dealt with swiftly at the age of 13, seeing it as my initiation into womanhood and wow - what a difference. Perhaps that is why I started Blink, to help show the Brits that brows needed to climb the pecking order of beauty priorities. I went on a mission to give women access to a brow haven of reliable threading services in London.
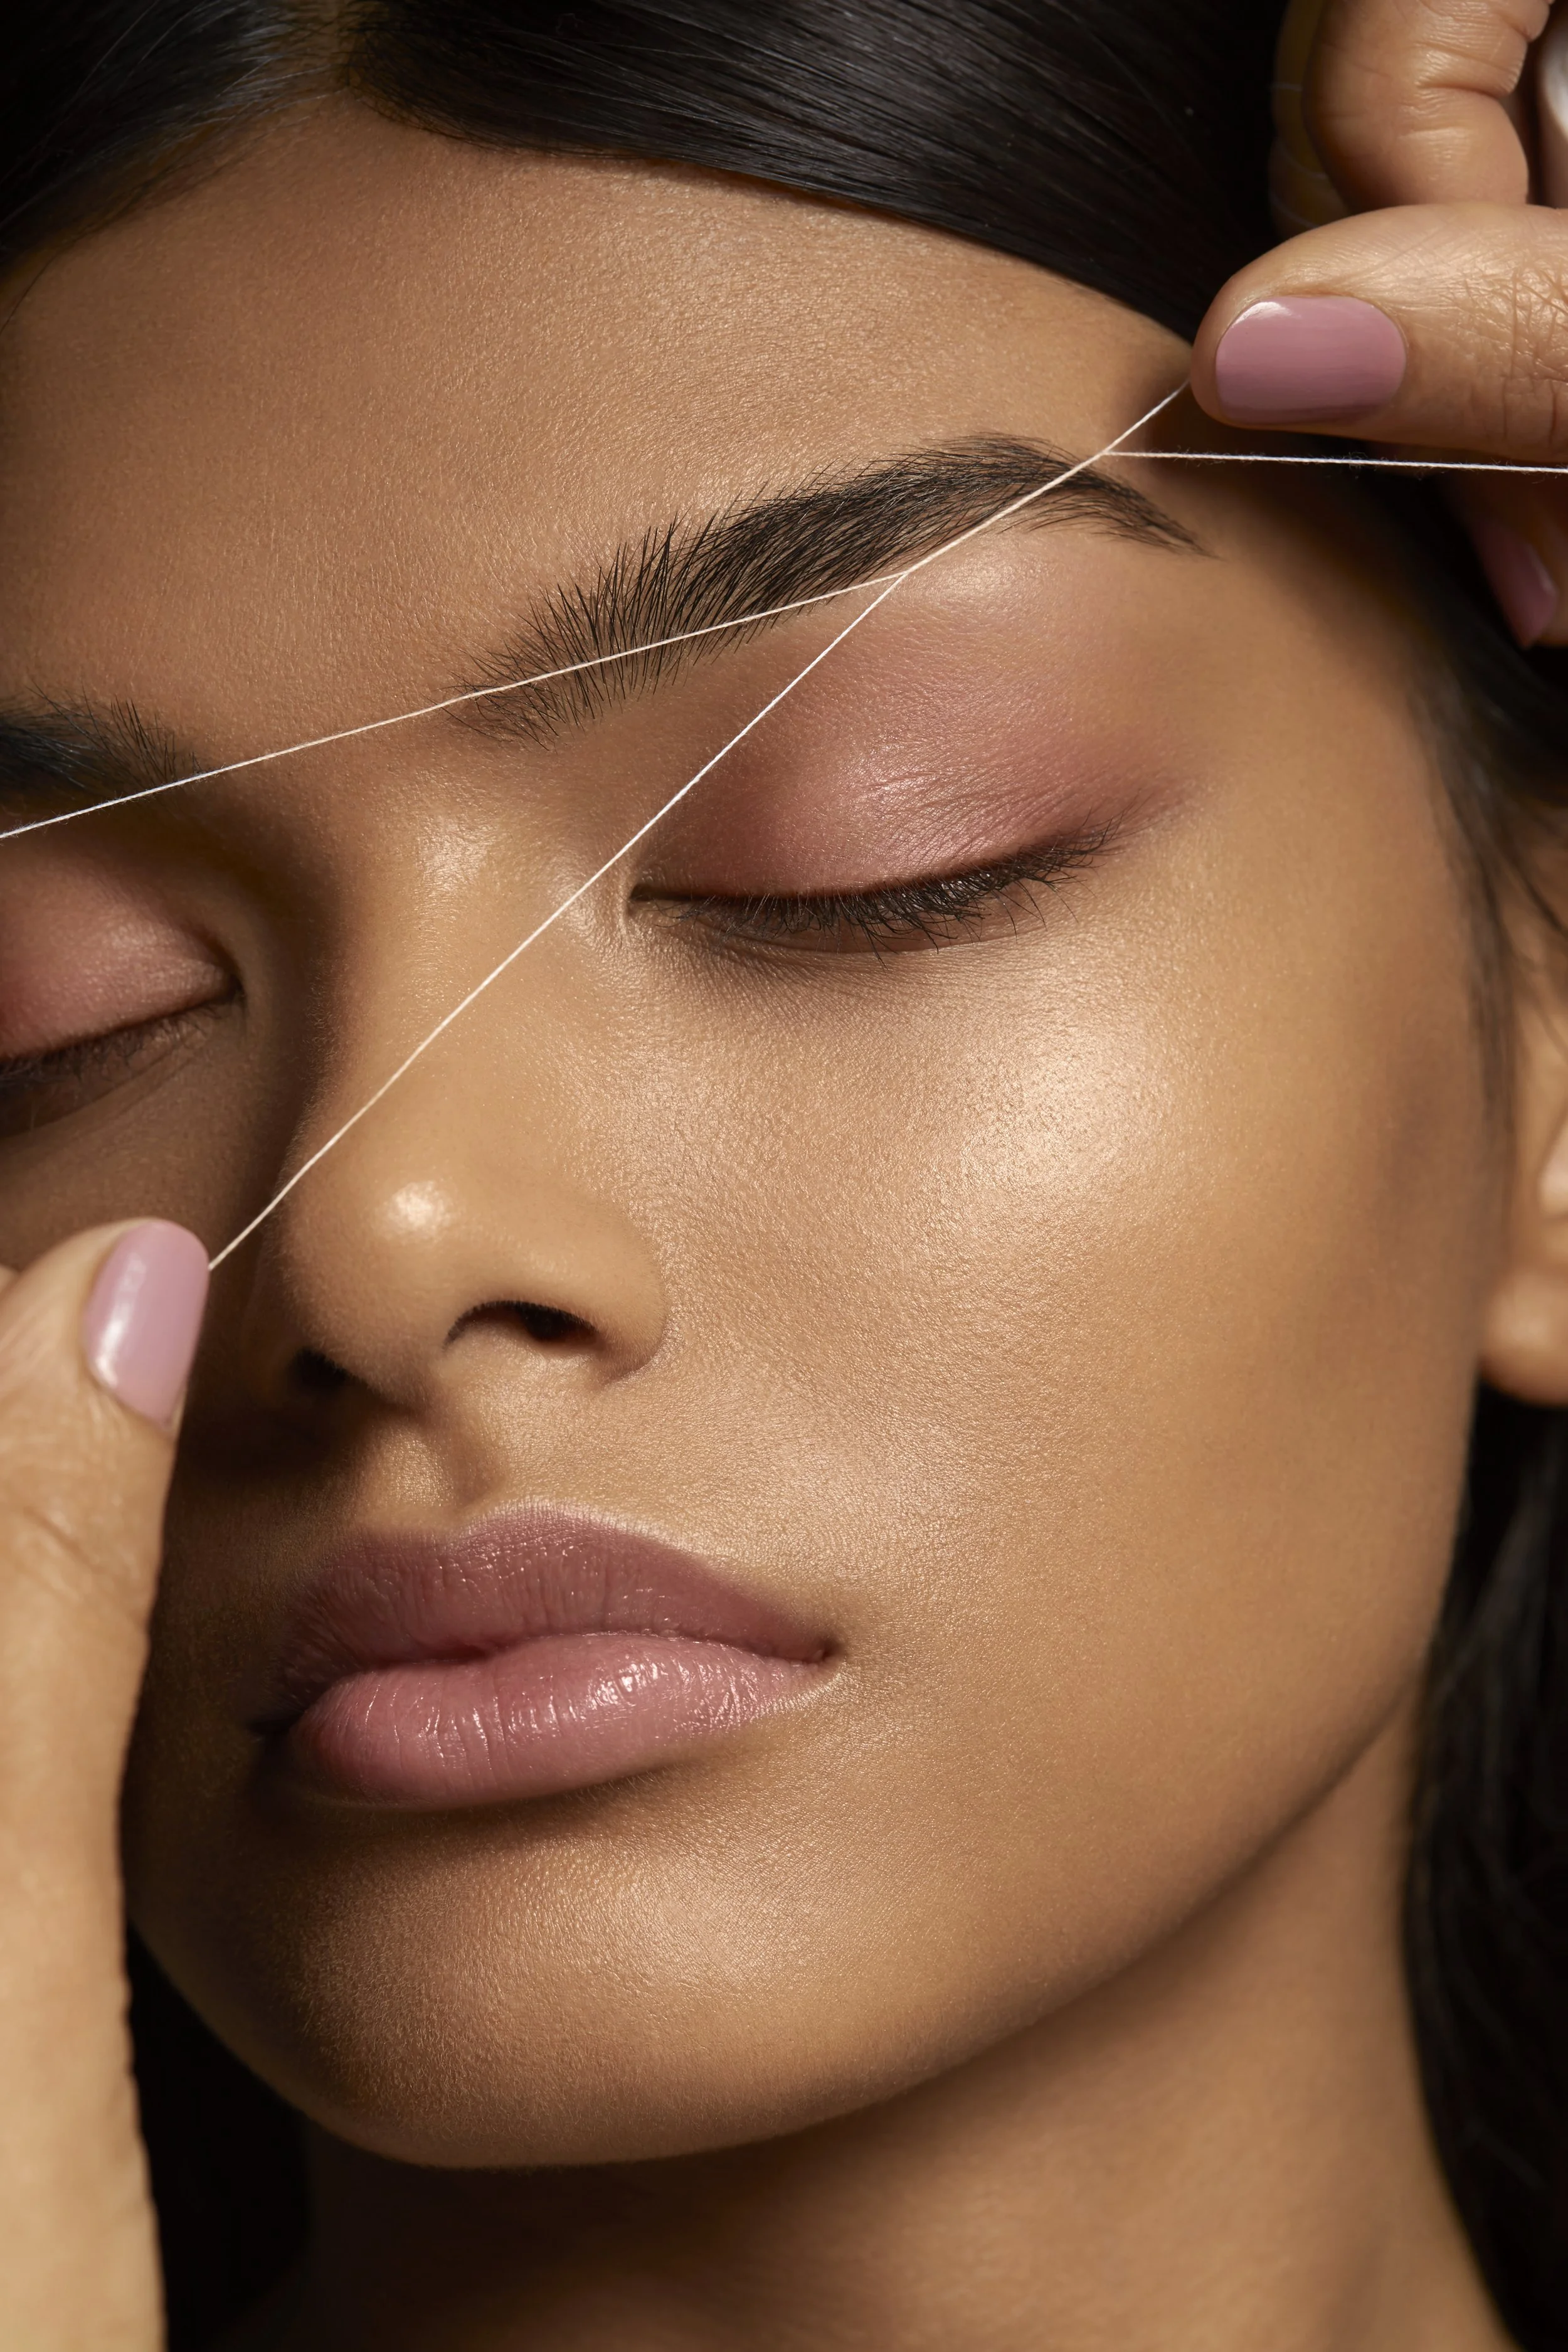
Why are brows so important? They are simply 2 strips of hair above the eyes, with the sole purpose to protect them. Quite bizarre that over the centuries they have become celebrated as a thing of beauty; from Cleopatra blackening them to Marilyn Monroe’s renowned angular arches. Unless you like the Friedo Khalo statement, untouched brows can shroud the eyes, take away their twinkle and hide all self-expression. Shaping these 2 strips of hair can suddenly and subtly reveal the eyes, express how you are feeling and lift the cheekbones hence shaping brows, is often described as a mini facelift because it does exactly that, an angular arch highlights the cheekbones and gives the face definition and ultimately youthfulness.
It is crucial to get the shape right to get the best out of your facial features. An over-tweezed brow, an arch in the wrong place or brows that are too short can throw everything off balance and do you a disservice. How do you know if you have hit the right mark? There is a simple measuring formula that seems foolproof. Take a pencil and place it at the outer part of your nose; where it hits the brows is where the brows should begin. Next, swivel the pencil to hit the iris and this is where the arch should fall. Finally, swivel to the end of the brow and this is where they should end. Voila - you have now balanced length and height with a perfect arch. Use a concealer pencil to mark up your brows and gently tweeze any excess hair. Take it slowly so you don’t get pluck-happy and stencils can often help guide you to get the shape right. You can fill them with a powder to show how your brows could look and then tweeze around this shaded shape. Once brows have been done, you may find that there are gaps or your brows have been overplucked in the middle or you have plucked away too much hair at the arch. Products can work wonders and pencils are great for filling in gaps and drawing in front of the brows with gentle hair-like flicks (to avoid that heavily tattooed look). Tinted Gels are my personal favourite as they slick the brows across and up to give it height and neaten them while adding colour. Also, remember that brows are precious and need some TLC so the oil can soften and moisturise.
In terms of a brow routine, I would recommend that they are the first port of call when applying colour. After skincare and any type of foundation, head to the brows. Comb the brows with a spoolie and decide whether you need to fill with a pencil. In terms of colour, you can either match your hair shade or go slightly darker. Blonde brows look great with a bit of colour to bring out the sparkle in the eyes but darker brows need to be kept soft so not too heavy. Then add some gel to keep in place and see how you immediately lift the cheekbones. This helps with the application of blusher or any face sculpting with a highlighter. For Spring, keep it minimal with strong brows and naturally glowing skin.
